5 errori da evitare per prolungare la vita del tuo smartphone
Gli smartphone sono ormai una parte essenziale della nostra vita quotidiana, usati per comunicare, lavorare, divertirsi e molto altro. Tuttavia, nonostante i progressi tecnologici, molti utenti si trovano spesso a dover sostituire il proprio dispositivo prima del previsto. Questo succede soprattutto a causa di pratiche scorrette che riducono significativamente la longevità dello smartphone. Questo articolo intende essere una guida utile per chiunque desideri sfruttare al massimo il proprio dispositivo, mantenendolo in ottime condizioni il più a lungo possibile. Esploreremo cinque errori comuni spesso commessi e forniremo soluzioni pratiche per evitarli, assicurandoci che il tuo smartphone continui a funzionare come nuovo. Conoscere come un uso improprio della batteria, una gestione inefficiente delle app, l’esposizione a elementi dannosi, la mancanza di aggiornamenti software e la scarsa pulizia possano influire negativamente sul tuo dispositivo è fondamentale.
Cosa significa prolungare la vita del tuo smartphone?
Prolungare la vita del tuo smartphone significa adottare comportamenti che aiutino a mantenere le prestazioni del dispositivo inalterate nel tempo, evitando guasti prematuri e riduzioni delle funzionalità. Prendersi cura del proprio dispositivo è importante non solo per il suo valore economico, ma anche per l’impatto ambientale che ha. Ogni smartphone è composto da molti componenti sofisticati che, se non gestiti correttamente, possono deteriorarsi rapidamente. Un uso consapevole può aumentare la durata fisica del dispositivo e migliorare l’esperienza utente, garantendo un sistema operativo sempre fluido e veloce. Un esempio è la batteria, uno degli elementi più critici, spesso soggetto a perdita di efficienza nel tempo. Tuttavia, molti non sanno che certi comportamenti, come lasciare il telefono costantemente in carica, possono ridurne la longevità. Lo stesso vale per l’uso eccessivo di app in background che sovraccaricano la memoria RAM. Comprendere l’importanza della gestione termica e della manutenzione fisica è altresì fondamentale.
L’importanza di una corretta manutenzione dello smartphone
Una corretta manutenzione dello smartphone è essenziale per garantire che il dispositivo operi al massimo delle sue capacità e abbia una lunga durata. A livello tecnico, significa monitorare e ottimizzare le prestazioni del sistema operativo, gestire con cautela le applicazioni e le risorse del dispositivo e prevenire il surriscaldamento. Innanzitutto, è fondamentale prestare attenzione alla gestione della batteria. Evitare di esporre lo smartphone a temperature estreme, sia calde che fredde, e seguire accortezze come mantenere il dispositivo in uno stato di carica tra il 20% e l’80% è altamente raccomandato.
Una corretta manutenzione dello smartphone è essenziale per garantire che il dispositivo operi al massimo delle sue capacità e abbia una lunga durata. A livello tecnico, significa monitorare e ottimizzare le prestazioni del sistema operativo, gestire con cautela le applicazioni e le risorse del dispositivo e prevenire il surriscaldamento. Innanzitutto, è fondamentale prestare attenzione alla gestione della batteria. Evitare di esporre lo smartphone a temperature estreme, sia calde che fredde, e seguire accortezze come mantenere il dispositivo in uno stato di carica tra il 20% e l’80% è altamente raccomandato. Come suggerisce riparazionecellulariatorino.it, punto di riferimento nel settore a Torino, anche aggiornare sistematicamente il sistema operativo e le app è fondamentale per garantire funzionalità efficienti e sicurezza del dispositivo. Ogni aggiornamento non offre solo nuove funzionalità, ma migliora anche l’efficienza e la protezione dello smartphone. Oltre agli aspetti software, la pulizia fisica è ugualmente cruciale: la polvere e lo sporco possono accumularsi nei connettori e nelle aperture, compromettendo l’uso dei pulsanti o causando danni interni al telefono. Utilizzando strumenti adeguati e seguendo i consigli dei produttori, è possibile mantenere il proprio smartphone efficiente e veloce.
Come evitare gli errori comuni nella gestione dello smartphone
Evitare gli errori comuni nella gestione dello smartphone richiede un cambiamento di abitudini e una maggiore consapevolezza su come utilizzare il dispositivo. Di seguito, un elenco di aree critiche da tenere presenti per garantire una lunga durata al tuo smartphone: gestione efficace della batteria, uso consapevole delle applicazioni, protezione da elementi dannosi, aggiornamenti software regolari e corretta pulizia e manutenzione.
Gestione efficace della batteria
Uso consapevole delle applicazioni
Protezione da elementi dannosi
Aggiornamenti software regolari
Corretta pulizia e manutenzione
Gestione della batteria e delle applicazioni
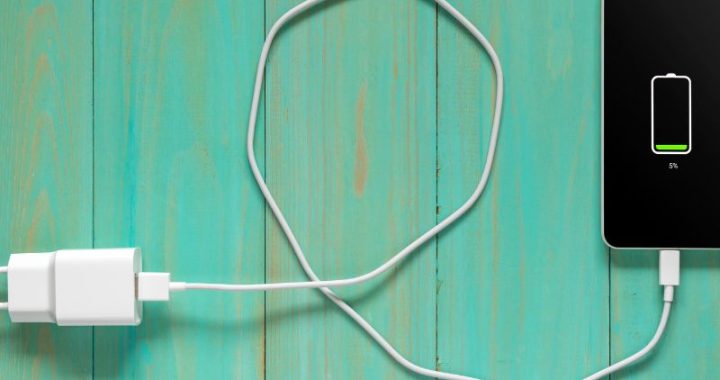
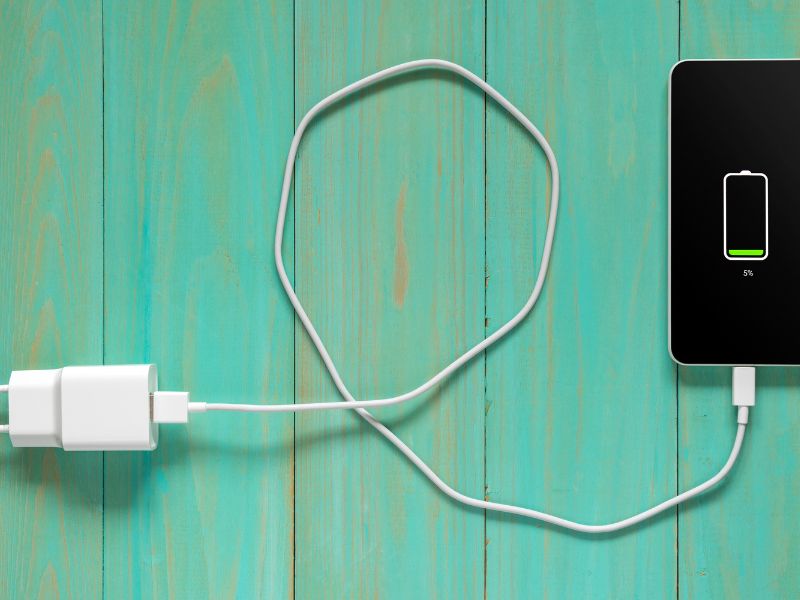
La gestione della batteria è cruciale per prolungare la durata della vita del tuo smartphone. Una prassi comune ma errata è caricare il telefono durante la notte, mantenendo il dispositivo collegato all’alimentazione anche dopo il raggiungimento del 100% di carica. Questa abitudine può danneggiare a lungo termine la batteria, riducendone l’autonomia e la capacità di mantenere la carica. Un’altra accortezza è quella di evitare che la batteria scenda sotto il 20% o salga oltre l’80% per preservarne i cicli di carica. Anche le applicazioni giocano un ruolo significativo nella longevità del tuo dispositivo. Alcune app continuano a funzionare in background, consumando risorse preziose e provocando un eccessivo consumo della batteria e della memoria RAM. Per ottimizzare le prestazioni, verifica regolarmente quali app utilizzano più risorse e considera di chiuderle o disinstallarle se non necessarie. Inoltre, aggiornamenti frequenti delle app garantiscono sicurezza e ottimizzazione per le versioni più recenti del sistema operativo. Se stai anche considerando di investire in un nuovo dispositivo, potresti voler sapere quanto costa un cellulare in base alle varie caratteristiche e specifiche di mercato attuali.
Protezione fisica e aggiornamenti software
Proteggere fisicamente il tuo smartphone è un altro aspetto importante da considerare. Investire in una buona custodia e in una pellicola protettiva per lo schermo può prevenire danni accidentali come graffi e urti, che potrebbero compromettere l’estetica e le funzionalità del dispositivo. Evitare di esporre il telefono a condizioni ambientali avverse, come umidità e temperature estreme, è anch’esso essenziale per la integrità dei componenti interni. Sul fronte software, gli aggiornamenti sono cruciali. Installare le ultime versioni del sistema operativo e delle applicazioni è fondamentale per la sicurezza e la performance del dispositivo. Gli aggiornamenti spesso includono patch di sicurezza che proteggono da malware e nuovi attacchi informatici. Consentire al tuo smartphone di aggiornarsi automaticamente o controllare regolarmente la disponibilità di nuovi update ti permetterà di beneficiare delle ultime funzionalità e miglioramenti progettati per ottimizzare l’efficienza e la gestione delle risorse.
Errori da evitare nella gestione dello smartphone
Molti utenti compiono errori comuni senza rendersene conto, ma che possono influire negativamente sulla vita del loro smartphone. Un errore frequente è l’esposizione del dispositivo al sole diretto o in ambienti molto freddi, che può portare a surriscaldamenti o malfunzionamenti. Anche non spegnere mai il dispositivo è dannoso: riavviarlo di tanto in tanto libera memoria e “rilassa” il sistema operativo. Un altro errore è dimenticarsi di fare backup regolari dei dati. La perdita di informazioni importanti è frustrante, e mantenere backup regolari ai uta a prevenire spiacevoli sorprese in caso di guasti improvvisi o smarrimenti del dispositivo. Infine, trascurare la pulizia dei connettori e delle superfici può portare a malfunzionamenti dei componenti hardware come microfono, altoparlante e porta di ricarica.
Prolungare la vita del proprio smartphone non richiede competenze tecniche avanzate, ma solo un po’ di attenzione e buone abitudini quotidiane. Evitare gli errori più comuni, effettuare regolarmente aggiornamenti e manutenzione, proteggere fisicamente il dispositivo e gestire consapevolmente batteria e applicazioni sono accorgimenti semplici che fanno la differenza. Un utilizzo più attento non solo ti aiuterà a risparmiare denaro evitando acquisti prematuri, ma contribuirà anche a ridurre l’impatto ambientale legato alla produzione e allo smaltimento dei dispositivi elettronici. Prendersi cura del proprio smartphone significa investire nel proprio comfort digitale e nella sostenibilità. Segui questi consigli pratici e il tuo dispositivo continuerà a darti soddisfazioni per molto tempo!